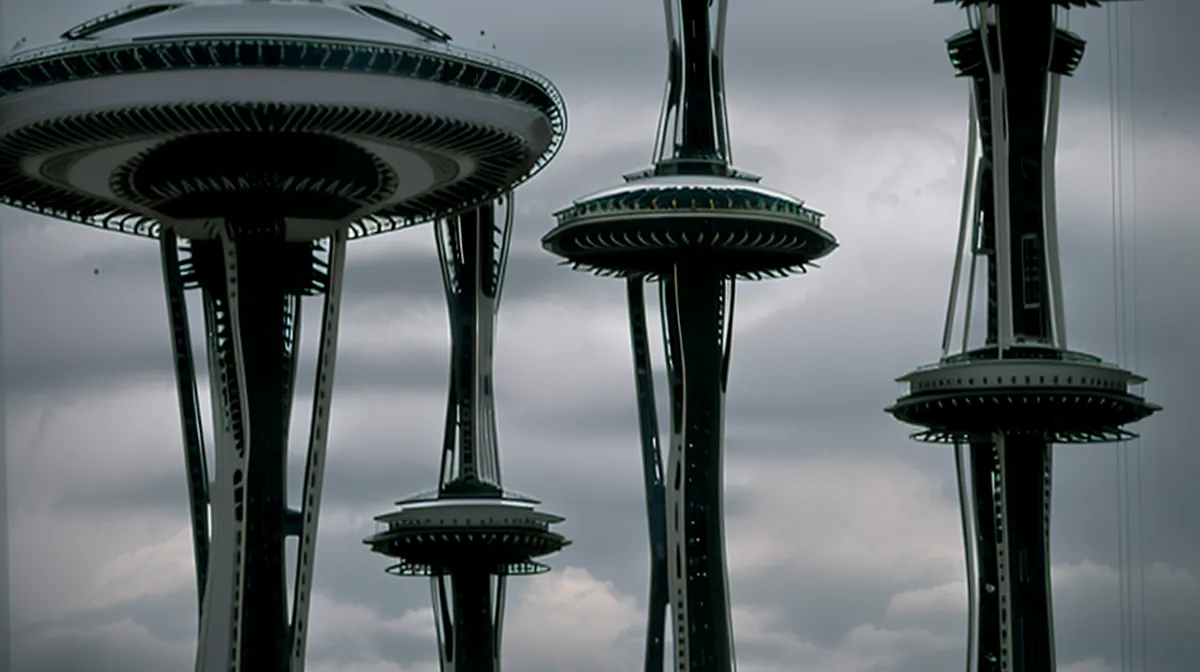
One drizzly morning last March, I stood at the base of the Space Needle, rain slicking my camera housing. The fog was so thick the 605-foot peak was invisible, just a gray monolith disappearing into a low-hanging marine layer. I had a Seattle CityPASS sitting in my digital wallet and a choice: burn a day or trust the Pacific Northwest weather to break before noon.
Quick heads-up: some of the passes and booking sites I mention here pay me a small commission at no extra cost to you if you book through my links. I’ve personally put these to the test on my own card, and it doesn't change my take on whether a stop was a win or a total afternoon-waster. I’m usually the guy who avoids bundles because they feel like a tourist trap transfer that never quite gets you to the destination you want, but I was in town for a week on a self-funded editorial project and needed to hit five major spots. Suddenly, the math started looking like a logistical necessity rather than just a budget play.
The Logistics of a 5-Stop Shot List
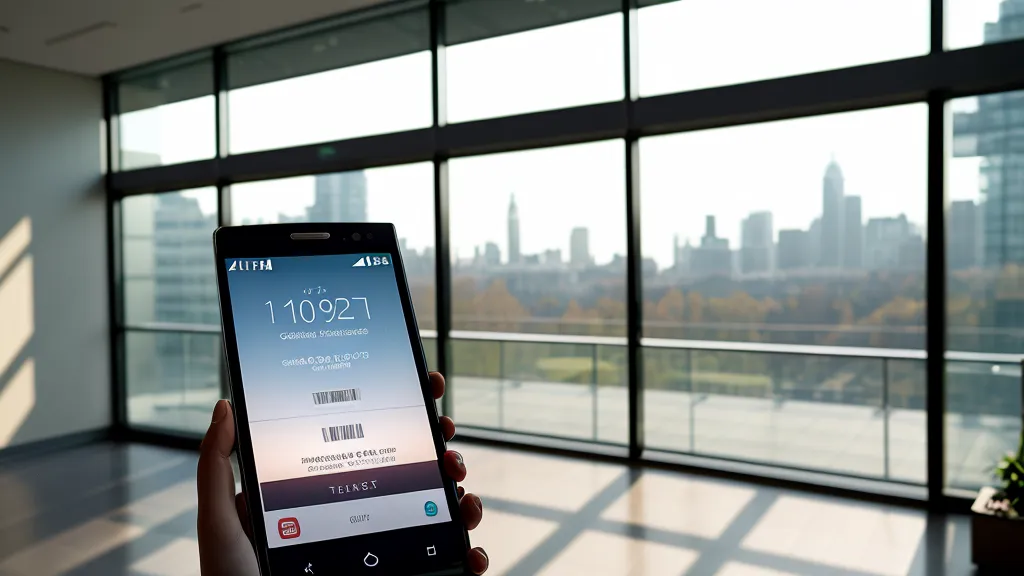
When you’re hauling a 30-pound Pelican case across the Seattle Center, the last thing you want to do is fumble with individual ticketing kiosks or paper printouts. The CityPASS covers five attractions and stays valid for nine days, which is a decent window for a shooter waiting on the light. I found the mobile entry to be a godsend; it’s basically the TSA PreCheck of the sightseeing world.
I started with the Space Needle and the Chihuly Garden and Glass back-to-back. If you’ve ever shot a New York CityPASS review, you know the drill: high-volume, high-friction. But in Seattle, the flow is smoother. The pass includes two visits to the Needle within 24 hours, which sounds great for a day/night contrast shot. However, the observation deck at 520 feet is where the real work happens. I spent a good chunk of time on The Loupe, the world's first revolving glass floor. Looking straight down through a wide prime lens is disorienting, but the architectural geometry is worth the vertigo.
I remember standing on that open-air deck, the cold, damp wind whipping through the gaps in the glass, making the shutter button feel like a tiny ice cube under my finger. I was trying to time a shot of the monorail snaking toward downtown, but the marine layer was stubborn. This is where the pass pays for itself—not just in currency, but in mental bandwidth. I wasn't stressing about the gate price for a single entry. I was already calculating how many extra rolls of 120 film I could buy with the money saved on gate prices if I just committed to the pass for the rest of the week.
The Catch: Why Photographers Might Want to Skip the Bundle
Here’s the contrarian take: skip the CityPASS if your primary goal is high-end landscape photography. The bundled entry times, while convenient, often nudge you into the harsh midday lighting of the 11:00 AM to 2:00 PM slot. For a city known for its moody, diffused light, midday in Seattle can be surprisingly flat and unflattering once the clouds actually part.

If you are hunting for that perfect golden hour glow over Elliott Bay, you might find the reservation system a bit restrictive. When the light turned flat and gray during my visit, I didn't feel the usual 'sunk cost' guilt. I didn't feel obligated to stay for hours to get my money's worth from a single $40 ticket; I simply moved to the next indoor location on the pass, like the MoPOP or the Seattle Aquarium.
For those who prefer a more curated, flexible approach, booking individual slots via GetYourGuide can sometimes be better for sniping specific weather windows. It’s like the difference between a local bus and an Uber; one is cheaper and hits all the stops, the other gets you exactly where you need to be when the light is right. If you’re just starting your trip and want a general lay of the land before committing to a heavy gear day, the Big Bus Tours routes around the waterfront are a solid way to scout locations without the legwork.
Workflow Over Savings
For a traveling pro, this pass is less about the discount and more about clearing the mental clutter. It’s a workflow tool. I’ve used similar setups in other cities—check my notes on the Best Chicago CityPASS Attractions—and the benefit is always the same: friction reduction. When you’re jumping from the Space Needle to a harbor cruise, you don't want to be the guy holding up the line because your email confirmation won't load.
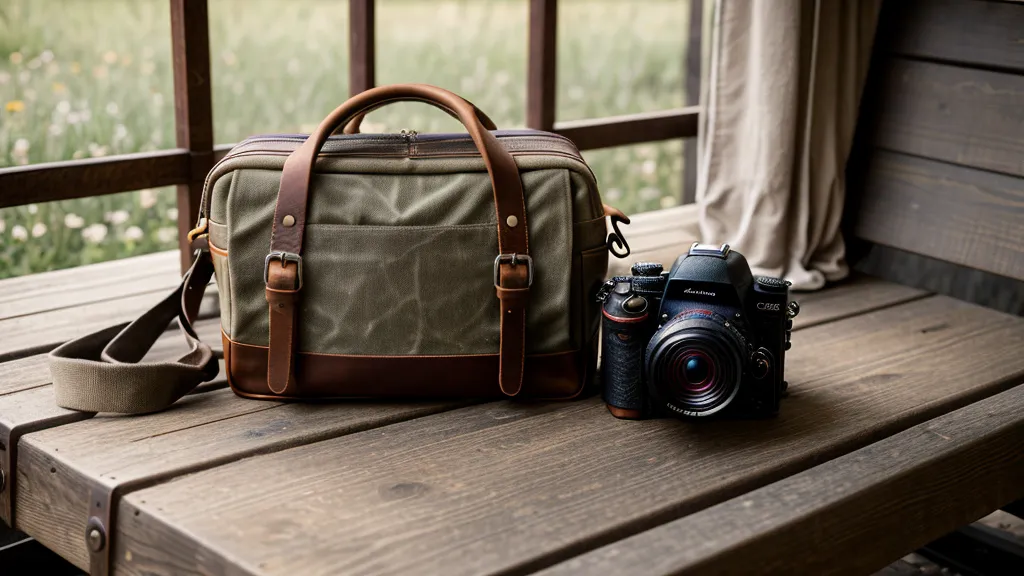
The nine-day validity is generous. I didn't feel the need to sprint through the city like I was on a missed transfer at Sea-Tac. I took four days to work through my list, hitting the Aquarium on a particularly rainy Tuesday when the light was useless for street photography. If you're doing a deep dive into the city's sights, it's worth checking out a City Attraction Pass Comparison to see how Seattle stacks up against other hubs, but for the volume-heavy shooter, the Needle-plus-four-others combo is hard to beat.
Ultimately, the Space Needle is a tripod-free zone unless you have media clearance, so leave the heavy sticks at the hotel. Lean into the fast primes and high ISO. If you’re looking to maximize your time in the Emerald City without the headache of individual transactions, grab the Seattle CityPASS and focus on the frames instead of the fees. It’s the closest thing to a seamless transit line through Seattle’s biggest visual hits.