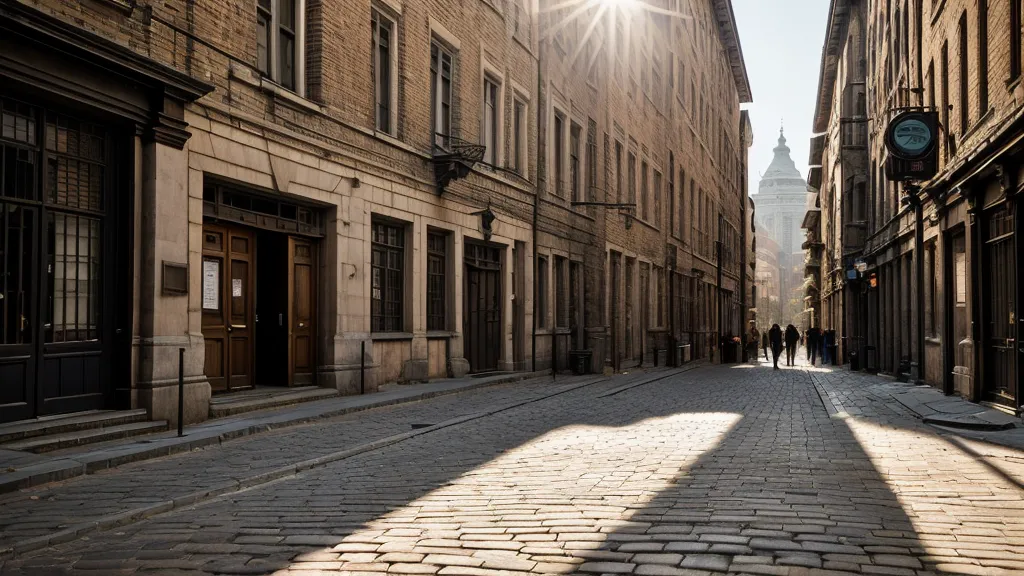
I was standing on the Adams/Wabash 'L' platform in late August, watching the orange line train pull in just as the sun hit the Carbide & Carbon Building. The light was raking across the deep green terra cotta and gold leaf at an angle that made the whole structure look like a giant champagne bottle. I wasn't there to catch a train, though; I was checking my mobile pass for the next entry window at a nearby skyscraper. That's the thing about Chicago—it’s a grid of shadows and glass that requires a specific kind of tactical planning to shoot correctly.
Just a heads up: some of the links here are affiliate links. If you book through them, I earn a commission at no extra cost to you. I have personally used these passes and tours across Chicago and dozens of other cities; the kickback keeps the gear bag stocked, but it doesn't change my notes on which stops were worth it and which ones felt like a staged waste of an afternoon. If you're looking for the best value on entries, I usually recommend the Chicago CityPASS for the math alone.
I returned to Chicago for a multi-day editorial assignment earlier this year, spanning from last fall through early April. I decided to pick up a pass to scout high-altitude angles I usually skip because of the soul-crushing individual ticket lines. In a city where the Chicago School of architecture defines the skyline, you don't want to be stuck at street level when the golden hour hits the upper stories.
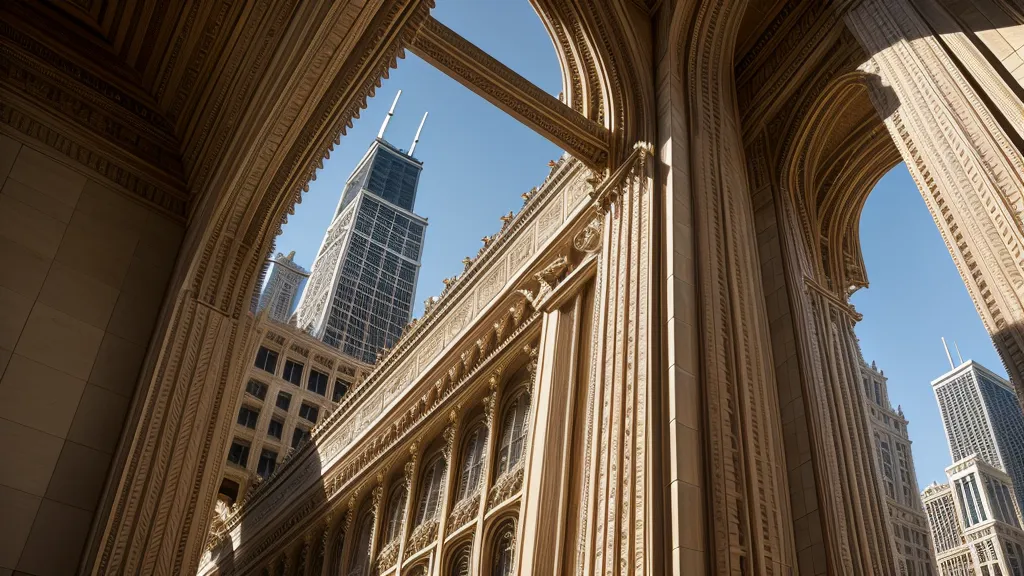
The Vertical Challenge: Willis Tower vs. 360 Chicago
The core of any Chicago architecture shoot is the heights. The CityPASS gives you access to both the Skydeck at Willis Tower and 360 Chicago in the former John Hancock Center. From a photography standpoint, they are completely different animals. The Willis Tower stands at 1,450 feet, and while the 'Ledge' is a total tourist trap, the sheer verticality of the view looking south toward the industrial corridors is unmatched for a telephoto lens.
On a chilly Tuesday in November, I spent three hours up there. Most people do the 60-second selfie on the glass and leave. I hung back, waiting for the shadows of the skyscrapers to stretch across the grid. Chicago's grid system begins at the intersection of State and Madison Streets, and seeing that geometry from 1,450 feet up is like looking at a circuit board. However, the glass at Willis is thick and prone to reflections. If you're shooting wide, you'll need a lens skirt or a dark hoodie to block the interior lights.
Contrast that with 360 Chicago. The 'Tilt' experience is useless for serious photography—it’s a gimmick that moves too fast to frame anything—but the view of the lakefront is superior. You get the curve of Lake Shore Drive and the contrast of the blue water against the stone. I found that visiting fewer attractions with a CityPASS actually offered me more time for optimal lighting and tripod setups compared to the usual tourist rush to hit all 5 attractions in two days. If you're trying to time the light, the skip-the-line feature included in the pass is the only reason I made it to the top before the sun dipped.
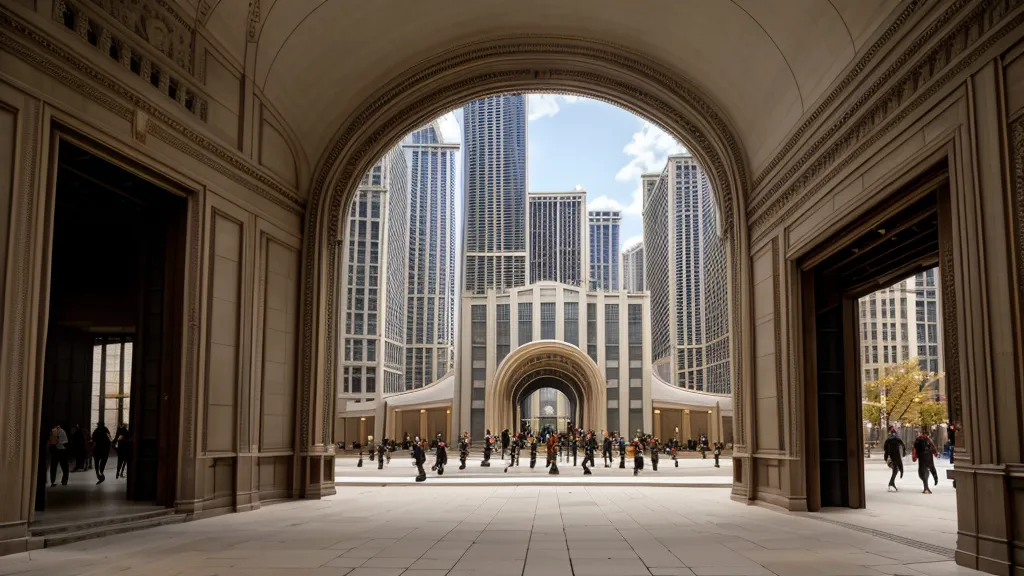
The Tactical Pivot: Using the Big Bus for Low-Angle Brutalism
When I’m carrying a heavy kit—two bodies, three primes, and a heavy-duty tripod—walking the 'canyons' of LaSalle Street feels like a forced march. During a weekend visit last fall, I pivoted and used the top deck of a Big Bus Tours bus as a mobile tripod. It sounds like a rookie move, but the elevation of the second deck puts you at a perfect mid-level height for shooting the masonry details of the Financial District.
From the top deck, you’re looking straight at the heavy, recessed windows of Brutalist architecture that often gets lost from the sidewalk. I’ve done similar moves before, like finding the Best Big Bus San Francisco Route for Golden Gate Views, and the logic holds: height minus the effort equals better frames. The bus moves slow enough through the Loop traffic that you can track a building with a 35mm prime and catch the reflection of the 'L' tracks in the lobby glass. It’s a transit transfer that actually pays off.
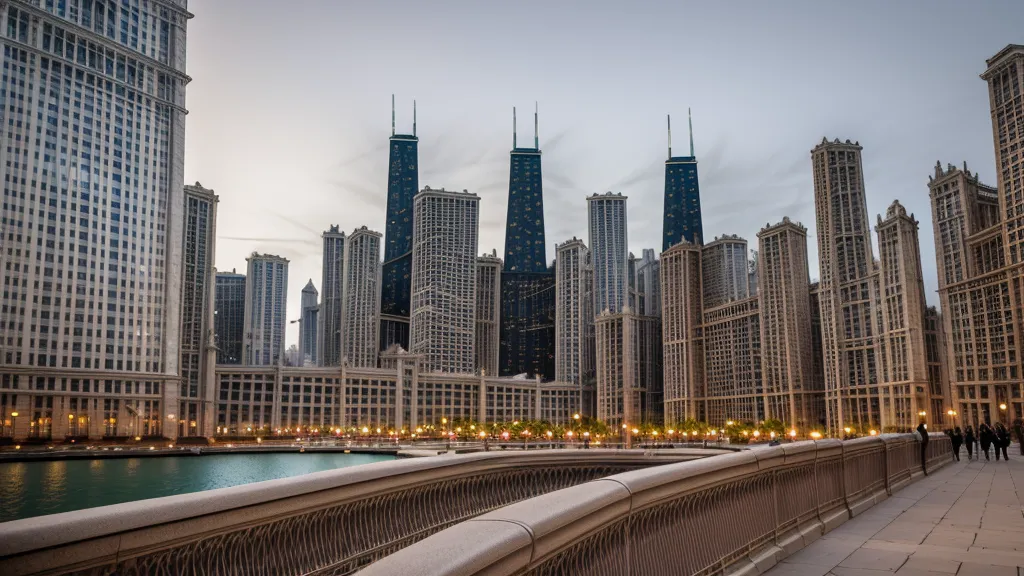
The River Perspective: Getting the Water Level Right
You can't talk about Chicago architecture without the river. It’s the only river in the world that flows backward due to a 1900 engineering feat, and it provides the most iconic 'canyon' shots in the city. While the CityPASS allows you to choose between several land-based museums, I often supplement it with a dedicated boat tour booked through GetYourGuide.
With over 75,000 activities globally, I’ve used them for everything from GetYourGuide Barcelona Sagrada Familia Tours to hidden rooftop access in London. In Chicago, the architecture cruise is the one 'tourist' thing that is 100% worth the card swipe. The light on the river is tricky; it’s deep shade until mid-morning, then high-contrast glare, then a beautiful soft glow about an hour before sunset. If you book a late afternoon slot, you can catch the sun hitting the top of the Wrigley Building while the river itself is in a moody, cool-toned shadow.
The Math of the Shoot: Is the Pass Worth It?
For a working photographer, time is the currency that matters most. The Chicago CityPASS covers 5 attractions, and while it’s only available in 9 US cities, Chicago is where it makes the most sense. If you try to pay individual entry at the Willis Tower, the Shedd Aquarium (great for interior textures), and the Field Museum, you’re already past the cost of the pass. But the real win is the time saved. Standing in a 90-minute queue at the Skydeck is 90 minutes of lost light.
I found that by using the pass for the 'big' entries and then using Trip.com as a backup for last-minute hotel or transport deals near the Loop, I could stay flexible. I once had a shoot rained out in early April, and because I hadn't activated my pass for that day yet, I just pushed my schedule and spent the afternoon shooting the rainy reflections of the 'L' from a coffee shop window instead.
Comparison of Chicago Photography Access
| Product | Best For | Price Range | Photographer's Note |
|---|---|---|---|
| CityPASS | Skyline & High Altitude | ~$114 USD | Essential for skipping Willis/Hancock lines. |
| GetYourGuide | River Cruises & Specialized Tours | Varies ($40-$60) | Best for picking specific boat departure times. |
| Big Bus Tours | Street Level & Canyons | ~$50 USD | Upper deck is a great 'moving tripod' for LaSalle St. |
Final Notes on the Chicago Grid
The biggest mistake I see people make is trying to do too much. They hit all 5 CityPASS spots in 48 hours and end up with a thousand mediocre photos of the back of people's heads. My approach? Use the pass to get into the spots that matter, then stay there. Wait for the light. Watch how the shadows from the steel frames move across the brickwork. The skip-the-line feature isn't just a luxury; it’s a tactical tool that lets you arrive exactly when the light is right, rather than three hours early just to beat the crowd.
Whether you're shooting the steel of the Willis Tower or the terra cotta of the Loop, Chicago rewards the patient. Grab a Chicago CityPASS to handle the logistics, maybe book a river cruise via GetYourGuide for the water angles, and keep your eyes on the gold leaf as the sun goes down. The grid is waiting.